![SoftPro Chlorine+ Carbon Whole House Water Filter to Remove PFAS, Chlorine, Chloramine & Pesticides [City Water Filters Series]](http://www.softprowatersystems.com/cdn/shop/files/SoftPro_Whole_House_Carbon_Filter_with_Spin_Down_Water_Filter.webp?v=1780515157&width=140)
![SoftPro Iron Filter - Iron Master AIO - Best Iron Filter for Well Water [Air Injected Water Filter / Katalox]](http://www.softprowatersystems.com/cdn/shop/files/SoftPro_AIO_Iron_Master_Iron_Filter_Main.webp?v=1772123747&width=140)


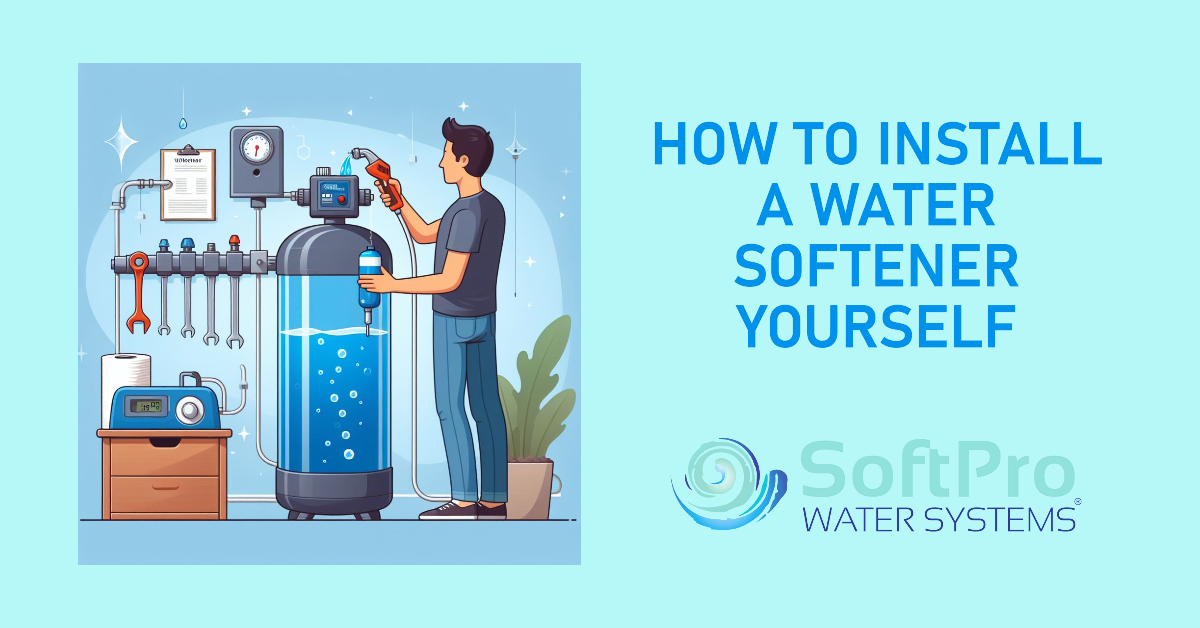
How to Install a Water Softener Yourself
Table of Contents
Installing a water softener on your own can be a rewarding DIY project, potentially saving you money on professional installation fees. While the process requires some plumbing know-how and careful attention to detail, it's achievable for many homeowners. Let's dive into the steps and considerations for DIY water softener installation.
Understanding the Fundamentals of Water Softeners
Before embarking on the installation, let's understand what a water softener does. Hard water, a prevalent issue in many areas, contains high concentrations of dissolved minerals, primarily calcium and magnesium. These minerals contribute to various household problems:
- Scale Buildup: Hard water leaves behind limescale deposits in pipes and appliances, reducing their efficiency and potentially shortening their lifespan.
- Dry Skin and Hair: Hardness minerals can leave skin feeling dry and itchy, and hair brittle and dull.
- Soap Scum and Cleaning Difficulties: Soap reacts with hard water, creating soap scum and reducing its ability to lather, resulting in a less effective cleaning experience.
- Spotting on Dishes: Hard water leaves residue and spots on dishes and glassware.
Water softeners employ a process called ion exchange to combat these issues. The softener contains a resin bed that attracts and holds onto the hardness minerals, effectively removing them from the water. These hardness ions are then replaced with sodium or potassium ions, resulting in softened water delivered to your home's plumbing system.
Should You Install Your Own Water Softener?
Here are factors to help you decide if a DIY installation is right for you:
- Plumbing Skills: Basic plumbing knowledge is essential. You should be comfortable cutting and soldering copper pipes and working with various fittings and adapters.
- Local Regulations: Familiarize yourself with local codes to determine if you need permits or inspections for the installation.
- Complexity: The difficulty can vary depending on your home's existing plumbing and the specific water softener system you choose.
Tools and Materials Checklist
Gather the necessary supplies before starting the project:
- Water softener system
- Bypass valve (often included with the system)
- Plumbing fittings and adapters (according to your setup)
- Copper pipe
- Solder and flux
- Pipe cutter
- Teflon tape
- Drain line tubing
- Overflow tubing
- Water softener salt
Step-by-Step Installation Guide
- Location Selection: Choose a dry, level spot near your main water supply, electrical outlet, and a suitable drain. Ensure sufficient clearance around the softener for maintenance. Ideally, place it at least 10 feet before your water heater.
- Shut Off Water Supply: Locate your home's main water shut-off valve and turn it off. Open a few faucets to drain residual water from the pipes.
- Cut into Your Main Line: Determine the connection point for the softener and carefully cut into your main water supply line.
- Install the Bypass Valve: Attach the bypass valve supplied with your softener system. This valve lets you isolate the softener for maintenance while maintaining water flow to your house.
- Connect Inlet and Outlet Lines: Using appropriate fittings and adapters, connect the water softener's inlet and outlet ports to your home's plumbing.
- Attach Drain and Overflow Lines: Securely connect the drain line to a suitable drain location. Run the overflow line as advised in the softener's instructions.
- Fill the Brine Tank: Add water softener salt to the brine tank according to the manufacturer's specifications. This salt is crucial for the regeneration process.
- Turn on Water and Check for Leaks: Slowly turn on your main water supply, and open the bypass valve. Thoroughly inspect all connections for any leaks. Address any leaks immediately.
- Program the Softener: Configure the softener's regeneration cycles (when it cleans itself) and other settings based on the manufacturer's manual and your specific water conditions.
Essential Reminders
- Manufacturer's Instructions: Always prioritize the instructions provided with your specific softener model.
- Safety First: Use appropriate protective gear, especially when soldering, and ensure good ventilation.
- Professional Assistance: Don't hesitate to consult a certified plumber if you encounter difficulties or feel unsure at any stage.
FAQs:
Is installing a water softener difficult?
The difficulty level depends on your plumbing skills and the complexity of your home's plumbing. With basic plumbing knowledge, the right tools, and careful attention to instructions, many homeowners can successfully install a water softener themselves.
How much does it cost to install a water softener myself?
DIY installation significantly reduces costs compared to professional services. You'll need the softener itself, plus basic plumbing materials and tools. Costs can vary depending on the softener model and any specific adaptations needed for your plumbing.
What are the common mistakes to avoid when installing a water softener?
Common mistakes include:
- Improper location selection (lack of space, proximity to heat sources)
- Incorrect drain and overflow line setup
- Failure to follow manufacturer's instructions precisely
- Not addressing leaks immediately

Summary & Key Takeaways
This guide provides a basic overview of water softener installation. To ensure a successful and safe project, consider these additional points:
- Water Hardness Testing: Before choosing a softener, determine your water hardness level (grains per gallon or GPG) using a test kit. This will ensure you purchase a system with the appropriate capacity.
- Local Regulations: Check local building codes for any permits or inspections required for water softener installations.
- Regeneration: This refers to the softener's cleaning process, where it uses brine (salt solution) to flush out accumulated hardness minerals and replenish its resin bed. Regeneration frequency influences salt consumption and overall system efficiency.
- Safety: Always prioritize safety precautions. Shut off your water supply and use protective gear as needed, especially when working with plumbing connections.
Key Takeaways
|
Feature |
Considerations |
|
Cost Savings |
DIY installation offers potential cost savings compared to professional services. |
|
Plumbing Skills |
Basic plumbing proficiency is essential, including cutting and soldering copper pipes (if applicable). |
|
Complexity |
Installation difficulty varies based on plumbing setup and specific softener model. |
|
Professional Assistance |
If unsure at any point, consult a licensed plumber to ensure proper installation and avoid potential damage. |
Ready to experience the benefits of softened water?
Research water softener options carefully to choose the best system for your home's needs and budget.