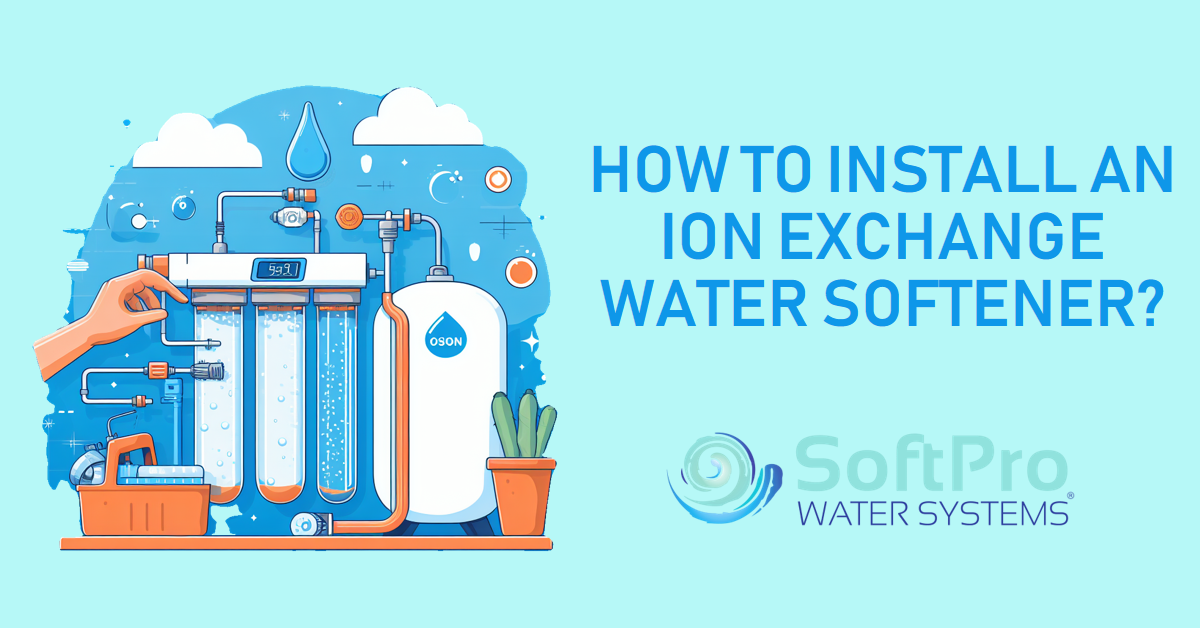
How to Install an Ion Exchange Water Softener?
Table of Contents
Yes, you can install an ion exchange water softener yourself! With a bit of patience, basic plumbing knowledge, and the right tools, you can successfully install a water softener in your home and enjoy the benefits of soft water.
This comprehensive guide will walk you through the entire process step-by-step, from choosing the right softener to troubleshooting common issues. Whether you're a DIY enthusiast or a first-time installer, this guide will provide you with the information you need to get the job done right.
Is a Water Softener Right for You?
Before diving into installation, let's assess whether a water softener is the right fit for your home. While soft water offers numerous advantages, it's not a necessary or beneficial upgrade for every situation. Let's explore some key factors to consider:
Benefits of soft water
- Improved skin and hair: Soft water lathers better with soap, leaving your skin feeling softer and smoother. It also rinses away soap scum more effectively, minimizing residue on hair and skin.
- Extended appliance lifespan: Hard water minerals can build up in appliances, reducing their efficiency and shortening their lifespan. Soft water can prolong the life of dishwashers, washing machines, and water heaters by preventing scale buildup.
- Reduced cleaning time and effort: Soft water makes cleaning easier and more efficient. Soap scum, limescale, and mineral deposits are significantly less prevalent, so you'll spend less time scrubbing and more time enjoying your clean home.
- Enhanced taste and smell: Soft water often tastes better and has a less "metallic" aroma compared to hard water. This can improve the taste of your coffee, tea, and other beverages.
There are also some potential downsides to consider:
- Initial cost and installation expense: Water softeners are an investment, with costs varying depending on the model, capacity, and brand. Installation costs can also add up, particularly if you require professional assistance.
- Higher salt usage and wastewater generation: Water softeners regenerate with salt, requiring regular refilling. The regeneration process also generates wastewater, which needs to be properly disposed of. This can be a concern in areas with water restrictions.
- Sodium content increase: Ion exchange softeners typically replace calcium and magnesium ions with sodium ions. While generally safe for healthy individuals, people with sodium-restricted diets may need to consider alternative softening methods or consult a doctor.
To determine if a water softener is right for you, consider:
- The hardness of your water: You can test your water for hardness using a home test kit or contacting your local water authority. Generally, areas with over 7 grains per gallon of hardness benefit most from softening.
- The extent of your hard water problems: Do you experience scale buildup, soap scum, and other hard water issues in your home? If so, a softener can significantly improve these problems.
- Your budget and DIY skills: Installation costs can vary, and DIY installation requires some basic plumbing knowledge. Consider your budget and comfort level with plumbing tasks before deciding.
By carefully weighing the pros and cons and considering your specific needs, you can make an informed decision about whether a water softener is the right investment for your home.
Choosing the Right Ion Exchange Water Softener
With the water softener decision made, now comes the exciting but crucial task: choosing the right one! Your ideal softener will fit your water needs, budget, and home layout seamlessly. Here are key factors to consider:
Capacity
This determines how much water the softener can treat before needing regeneration. Consider your average daily water usage and choose a capacity accordingly. For typical households, a 10,000-grain capacity softener is often sufficient.
Flow rate
This indicates how quickly the softener can deliver softened water. If you have multiple high-water-demand appliances running simultaneously, opt for a higher flow rate softener to avoid pressure drops.
Features
Modern softeners offer various features like digital controls, leak sensors, and automatic bypass valves. Consider your comfort level and desired convenience when choosing features.
Brand and warranty
Research reputable brands known for quality and reliability. Check warranty lengths and coverage details to ensure you're protected in case of any issues.
Here are some additional tips for choosing the right softener:
- Get personalized recommendations: Consult a local water treatment professional or plumber to discuss your specific needs and receive targeted recommendations.
- Compare models and prices: Research online and in-store to compare different options and find the best value for your budget.
- Read user reviews: Pay attention to user feedback on features, performance, and installation ease to get real-world insights.
The ideal softener is one that perfectly matches your water usage, budget, and desired features. Take your time, do your research, and choose the one that will bring you the optimal soft water experience for years to come.
Pre-Installation Preparation: Gathering Tools and Setting the Stage
Before diving into the exciting world of plumbing wrenches and resin beads, let's get prepared! This pre-installation phase involves gathering the necessary tools, understanding your plumbing layout, and ensuring safety throughout the process.
Essential Tools and Materials
- Adjustable wrench: Your trusty plumbing sidekick for tightening and loosening various connections.
- Basin wrench: Ideal for reaching nuts and bolts in tight spaces, particularly around the shut-off valve.
- Pipe cutters: For making clean cuts on PEX or PVC pipes (depending on your plumbing materials).
- Teflon tape: Creates a watertight seal on threaded connections.
- Sealant or PVC cement: Depending on your pipe material, apply sealant to threaded connections or PVC cement for joining new sections.
- Safety glasses and gloves: Protect your eyes and hands from potential splashes and sharp edges.
- Bucket and towels: Catch any water drippings and spills during the process.
Understanding Your Plumbing Layout
- Locate the main water shut-off valve: This valve allows you to completely cut off water supply to your house, a crucial step before starting any plumbing work.
- Identify the ideal installation location: Choose a spot near the main water line with easy access for maintenance and sufficient space for the softener unit.
- Plan the connection route: Trace the path from the shut-off valve to the intended softener location, noting any existing obstacles or bends.
Safety Precautions and Regulations
- Turn off the main water supply: This is the most important safety step to avoid any flooding or uncontrolled water flow.
- Check local plumbing codes and permits: Some areas may require permits for major plumbing work like softener installation. Consult your local authority or plumber to ensure compliance.
- Work with caution and follow instructions: Carefully read the manufacturer's installation guide for your specific softener model and adhere to all safety instructions.
Remember, thorough preparation can make the installation process smoother and safer. Gather your tools, understand your plumbing, and prioritize safety above all else. Now, with all bases covered, we're ready to embark on the hands-on installation journey.
Step-by-Step Installation Guide: Bringing Your Water Softener to Life
With the prep work flawlessly completed, it's time to roll up your sleeves and witness the transformation of your home's water! This step-by-step guide will lead you through the physical installation process, guiding you from connecting the bypass valve to filling the brine tank. Remember, consult your specific softener model's manual for detailed instructions and adjustments.
1. Installing the Bypass Valve:
- Choose the bypass valve installation method: Depending on your plumbing configuration, you can opt for a saddle valve (for copper pipes), tee connection (for most pipe materials), or an existing bypass system if available.
- Follow the chosen method's instructions carefully: Each method involves specific steps for cutting pipes, attaching the valve, and ensuring watertight connections. Utilize Teflon tape, sealant, or PVC cement as needed.
- Test the bypass valve: Once installed, turn on the water supply and briefly open the bypass valve to confirm proper water flow before proceeding.
2. Connecting the Water Softener Unit:
- Position the softener: Place the unit in its designated location, ensuring easy access for future maintenance and refill tasks.
- Connect the inlet and outlet lines: Use flexible water hoses or rigid copper pipes to connect the softener's inlet (marked "in") to the bypass valve outlet and the outlet (marked "out") to your main water line. Ensure secure connections with wrenches and sealant.
- Attach the drain line: Connect the softener's drain line to a suitable drain location, ensuring a downward slope for proper drainage. Consult your manual for drain line length and size requirements.
3. Filling and Setting Up the System:
- Add gravel and resin: Carefully pour the provided gravel into the tank following the manufacturer's instructions. Then, slowly add the resin beads, ensuring even distribution without overflowing.
- Fill the brine tank with salt: Choose the recommended salt type (usually rock salt) and pour it into the brine tank. Avoid overfilling and follow the manufacturer's recommended salt level.
- Set the water hardness and regeneration cycle: Locate the control panel and navigate the settings to specify your water hardness level and desired regeneration cycle frequency. Most recent models offer user-friendly interfaces for easy configuration.
- Prime the system: Follow the manual's instructions for initiating the initial regeneration cycle. This process cleans and activates the resin, preparing it for softening your water.
4. Testing and Troubleshooting:
- Check for leaks: Open the water supply fully and carefully inspect all connections for any leaks. Tighten any loose fittings if necessary.
- Test the water hardness: After the first regeneration cycle, use a home water hardness test kit to confirm that your water has softened to the desired level. Adjust the control panel settings if needed.
- Troubleshooting common issues: Consult your manual or online resources for tips on addressing common installation problems like low water pressure, leaks, or malfunctioning control panels. If you encounter complex issues, consider seeking professional assistance from a plumber.
Congratulations! You've successfully installed your ion exchange water softener and are well on your way to enjoying the multitude of benefits soft water offers. Remember to perform regular maintenance tasks like refilling salt and periodically cleaning the system to ensure optimal performance for years to come.
Post-Installation Maintenance and Care: Keeping Your Water Softener Happy and Healthy
So, you've conquered the installation and your home is basking in the glory of soft water. But don't forget, like any good friend, your water softener needs regular TLC to keep delivering its magic. This section dives into essential post-installation maintenance tips to ensure your softener runs smoothly and efficiently for years to come.
Regular Maintenance Schedule:
- Salt Refilling: This is the lifeblood of your softener. Monitor the brine tank level and refill it when it reaches the designated "low" mark. Frequency depends on water usage and softener capacity, typically ranging from every few weeks to every few months. Use the recommended salt type (usually rock salt) and avoid overfilling to prevent clogging.
- Cleaning and Disinfection: Every 6 months, perform a cleaning cycle to remove any accumulated sediment or bacteria. Consult your manual for specific instructions, which may involve running a designated cleaning cycle or manually cleaning internal components. Disinfection may also be recommended periodically, depending on your water source and softener model.
- Performance Adjustments: Over time, your water usage or hardness levels might change. Monitor your water's softness regularly and adjust the control panel settings as needed to maintain the desired level. Many modern softeners offer water hardness sensors that automatically adapt regeneration cycles for optimal efficiency.
Troubleshooting Common Issues:
- Leaks: Don't panic! Minor leaks often occur from loose connections. Simply tighten the fittings with a wrench. If a leak persists or involves major components, consulting a plumber is recommended.
- Low Water Pressure: This can be caused by clogged valves, air in the lines, or a failing resin bed. Check for blockages, bleed any trapped air, and consider a system cleaning if water pressure remains low.
- Control Panel Malfunctions: Erratic displays or unresponsive buttons might indicate a faulty control panel. Consult your manual for troubleshooting steps, and seek professional help if needed.
Remember, proactive maintenance is key to a happy and healthy water softener! By following these simple steps and addressing any issues promptly, you can ensure your system runs smoothly and continues to deliver soft water for years to come.
Environmental Considerations and Salt Disposal Options: Softening Water, Sustainably
While enjoying the benefits of soft water, it's essential to be mindful of the environmental impact. The main concern with ion exchange softeners is salt usage and disposal. Let's explore ways to minimize environmental impact and responsibly handle salt disposal:
Reducing Salt Usage:
- Choose an efficient softener: Opt for models with high-efficiency features like demand-controlled regeneration, which only regenerate when necessary, thereby reducing salt consumption.
- Adjust settings accurately: Set the water hardness level and regeneration frequency correctly to avoid unnecessary cycles and salt waste.
- Consider alternative softening methods: If your primary concern is mild hard water, explore environmentally-friendly options like citrus-based softeners or filtration systems.
Salt Disposal Options:
- Municipal wastewater treatment plants: Many municipalities accept softener brine in their wastewater treatment systems. Check with your local authorities to see if this is an option in your area.
- Evaporative disposal: In dry climates, brine can be safely disposed of by letting it evaporate in a designated pit or container. Ensure proper drainage and avoid contaminating soil or nearby water sources.
- Saltwater irrigation: If you have saltwater-tolerant plants or a dedicated irrigation system, brine can be used for watering. This option isn't suitable for all plants and requires careful management to avoid soil salinization.
- Commercial disposal services: Some companies offer specialized brine disposal services, transporting and treating the wastewater for appropriate disposal. This might be a viable option if other methods are unavailable or impractical.
Responsible salt disposal is crucial for minimizing environmental impact. Choose the method that best suits your local regulations and environmental context. Additionally, explore resource-efficient softener models and water-saving plumbing practices to further reduce your environmental footprint.
Conclusion and Key Takeaways: Softening Your Way to a Better Home
Congratulations! You've embarked on the rewarding journey of installing and maintaining your own ion exchange water softener. By following the detailed steps and insights in this guide, you've equipped yourself with the knowledge and confidence to enjoy the numerous benefits of soft water in your home:
- Improved skin and hair: Say goodbye to dry, itchy skin and dull hair. Soft water lathers better with soap, leaving your skin feeling smoother and your hair silkier. Studies by the National Eczema Association show that soft water can significantly reduce eczema symptoms in affected individuals.
- Extended appliance lifespan: Hard water minerals can wreak havoc on appliances, reducing their efficiency and shortening their lifespan. According to the Water Quality Research Foundation, soft water can extend the lifespan of dishwashers by up to 33%, washing machines by 25%, and water heaters by 29%.
- Reduced cleaning time and effort: Soft water works its magic on soap scum and mineral deposits, making cleaning easier and faster. A study published in the Journal of Environmental Research found that households with soft water spend 20% less time cleaning bathrooms and kitchens.
- Enhanced taste and smell: Notice a difference in the taste of your coffee, tea, and other beverages? Soft water often reveals the subtle flavors masked by hard water minerals, leading to a more enjoyable drinking experience.
While reaping these benefits, remember to be mindful of environmental considerations. Choose salt-efficient softener models, adjust settings for optimal usage, and explore alternative disposal methods for the brine wastewater. By making informed choices, you can minimize your environmental impact while enjoying the countless advantages of soft water.
Key Takeaways:
- Choosing the right softener: Consider your water hardness, capacity needs, features, and budget to find the perfect fit for your home.
- Proper installation: Follow the step-by-step guide carefully, ensuring secure connections and adhering to safety precautions.
- Regular maintenance: Refill salt, perform cleaning cycles, and adjust settings for optimal performance and longevity.
- Environmental responsibility: Minimize salt usage, choose sustainable disposal methods, and consider resource-efficient softener models.
With this knowledge and the power of soft water, transform your home into a haven of comfort and convenience. We hope this guide has been a valuable resource on your journey to softer water. Remember, we're here to answer any further questions you may have. So, go forth and soften with confidence!


![SoftPro Chlorine+ Carbon Whole House Water Filter to Remove PFAS, Chlorine, Chloramine & Pesticides [City Water Filters Series]](http://www.softprowatersystems.com/cdn/shop/products/softpro-whole-house-chlorine-filter-282008.jpg?v=1758858973&width=140)
![SoftPro Iron Filter - Iron Master AIO - Best Iron Filter for Well Water [Air Injected Water Filter / Katalox]](http://www.softprowatersystems.com/cdn/shop/products/softpro-iron-master-aio-water-filtration-system-remove-iron-sulfur-manganese-using-air-injection-for-optimal-performance-412868.jpg?v=1758859831&width=140)


