


![Aldex Premium 10% Cross Link Resin for Water Softener [High Capacity]-SoftPro® Water Systems](http://www.softprowatersystems.com/cdn/shop/files/Aldex_10_Cross_Link_Resin_Premium_High_Capacity_for_Water_Softener_600x.jpg?v=1735853599)


Ever wonder why water softeners sometimes need repairs sooner than expected?
We’ve all been there. Today we’re walking through our straightforward water softener installation steps—and spilling the plumber’s $500 secret that can make your system last three times longer.
Using our SoftPro Water Softeners, from the budget-friendly ECO model to the high-efficiency Elite or the Smart Home+ with DROP technology, we’ll show you how a simple pre-plumbed loop and proper hookups set you up for years of soft water bliss. Let’s dive in, friend—trust me, you’re not alone in this journey.
Gather Your Materials
Before we roll up our sleeves, let’s lay out everything we need. Having the right tools and components on hand saves time and frustration down the road.
- Tools: Adjustable wrench, tubing cutter, pipe sealant tape, level, propane torch (for copper), wrench tool
- Softener Components: Bypass valve, brine tank, resin tank, control valve, media guard, drain line
- Plumbing Parts: Flexible supply tubes, drain tubing, fittings for copper or PEX, saddle valve (if needed)
- Accessories: Flow meter (to size your system), salt delivery kit, water test strips
Here’s the thing—we’ve found that pre-assembling the bypass valve and positioning the resin tank next to the brine tank makes the next steps a breeze. Lay everything out on a flat surface and double-check you’ve got all filter cartridges or resin beads ready for installation.
Select Installation Location

Picking the right spot for your softener isn’t just about convenience, it’s about longevity and performance.
Point Of Entry Importance
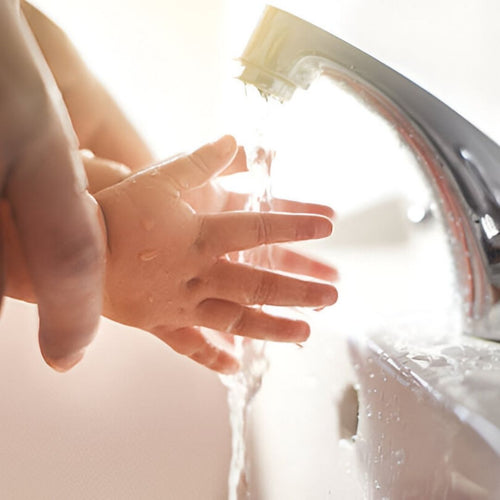
The ideal location is where water first enters your home, upstream of the water heater. This ensures every faucet, appliance, and plumbing line benefits from soft water—and it protects your heater from scale buildup.
Drain And Power Access
You’ll need a nearby drain for regeneration cycles and a 120 V outlet for the control valve. Basements, garages, or utility rooms are top picks—just avoid freezing temperatures below 35 °F or humid spots over 100 °F. Make sure there’s at least 18 inches of clearance around the resin and brine tanks for easy salt refills and maintenance.
Prep Plumbing Lines

This is where our plumber’s $500 secret really shines: installing a dedicated pre-plumb loop for the softener service line. It saves major headaches when swapping units or servicing down the road.
Shut Off And Relieve Pressure
First, turn off the main water supply and open a downstream faucet to drain lines. Relieve residual pressure so there are no messy surprises when you cut in.
Install The Bypass Valve
Attach the bypass valve to your main line using flexible supply tubes or soldered copper connections. This valve lets us isolate the softener without shutting off water to the whole house when it’s time for maintenance.
Set Up Pre-Plumb Loop
Here’s the secret: run a pair of dedicated ¾-inch pipes from the bypass valve to where the softener will sit. One line feeds untreated water in, the other returns softened water to the house. Tie both lines into a looping manifold or install quick-connect fittings. This extra step typically adds about $500 in labor or materials up front, but it cuts swap-out time by hours next time around—and it nearly triples your system’s useful life.
Hook Up Softener
With your pre-plumb loop in place, connecting the softener is almost anticlimactic—in the best way possible.
Connecting Supply Lines
Slip the untreated feed line into the control valve’s “in” port and the softened return line into the “out” port. Use pipe sealant tape on threaded fittings or push-to-connect couplings for PEX.
Attaching Drain And Overflow
Route the drain tubing from the control valve to your floor drain or standpipe. Secure it at least 6 inches above the trap to prevent backflow. Don’t forget to clip on the overflow hose from the brine tank—this ensures safety if you ever overfill the salt chamber.
Wiring The Control Valve
Plug in your control valve controller and program the regeneration cycle as per your hardness level—typically 7 grains per gallon or more calls for daily or every-other-day regen. If you have a Smart Home+ model, sync it with your DROP app for real-time monitoring and leak alerts.
Start And Test
Here’s where we make sure everything runs smoothly. So here’s the truth—you’ve almost made it!
Initiate Backwash Cycle
Open the bypass valve slowly to fill the system. Manually initiate a backwash or first regeneration cycle to flush out any debris and prime the resin bed.
Check For Leaks And Pressure
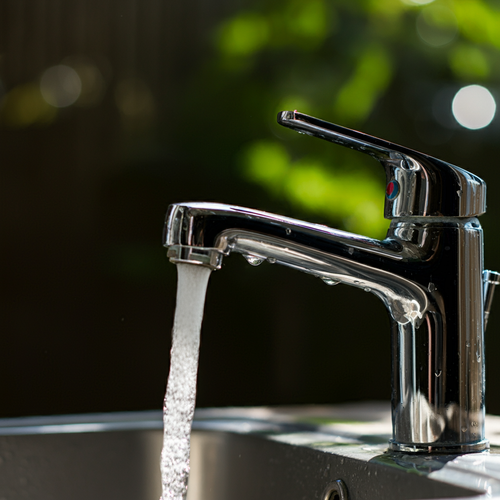
Inspect all fittings and tubing for drips. Verify water pressure stays between 50 and 70 psi for optimal performance. If you see any leaks, tighten connections or reapply sealant tape before proceeding.
Maintain Your System
Keep your new setup humming for years with a few easy habits:
- Monthly Salt Checks: Top off the brine tank when salt dips below one-quarter full
- Semiannual Inspections: Look for salt bridges, clean the brine tank, and inspect resin health
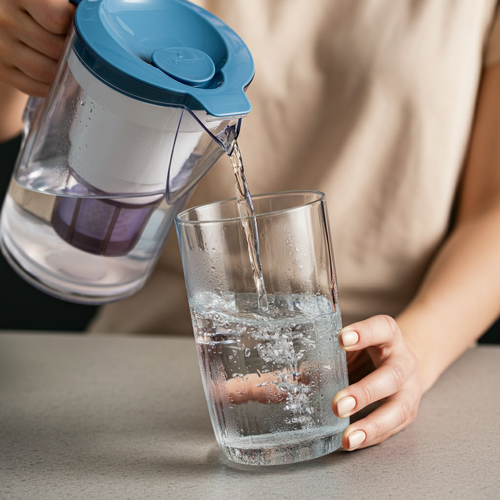
- Water Testing: Check hardness levels quarterly with test strips to confirm your softener’s working
- Annual Professional Tune-Up: Schedule a tech visit to break up salt bridges, adjust settings, and swap out worn parts
Trust us, these simple steps pay dividends in system longevity and water quality.
Keep going, you’re doing great—your SoftPro system is now set up with the very same care and secret trick we’ve used for decades. Here’s to softer hair, shinier dishes, and plumbing that stands the test of time. Remember, we’re right here with you, cheering you on every soft, lather-friendly drop of the way.

Related Posts You'll Love
-
How to Remove Arsenic from Water
We can remove arsenic from water using a variety of methods, the most common being filtration, adsorption, and coagul...
-
How to Remove Chlorine and Chloramine from Water
Chlorine and chloramine are ubiquitous in municipal water supplies, serving as crucial disinfectants that safeguard u...
-
How to Get Rid of Lead in Water
Lead can be effectively removed from water using various methods, including filtration (with certified filters), dist...


